Do you want to start automating your home but don’t know where to start? Why not try installing Home Assistant on a Raspberry Pi? In this guide, we’ll show you how to set up your Raspberry Pi and get started with home automation. I’ll also provide some helpful tips and tricks for getting the most out of your setup. So let’s get started!
Contents
What is Home Assistant?
If you’re new to the world of home automation, you might be wondering what exactly Home Assistant is. Essentially, it’s an automation tool that allows you to control and automate various devices in your home. This can include anything from lights and appliances to thermostats and security cameras.
One of the great things about Home Assistant is that it’s designed to be very user-friendly. It has a simple yet powerful interface that makes it easy to get started with automating your home. Plus, a large community of users and developers are constantly creating new and innovative ways to use Home Assistant.
Why Use Home Assistant?
As we mentioned, Home Assistant is an excellent platform for controlling and automating various devices in your home. But that’s not all it can do. Home Assistant is also packed with features that make it a great choice for home automation.
For starters, Home Assistant is very reliable. It’s designed to be stable and always available, even if your network connection is unreliable. Plus, it has a built-in backup system, so you can rest assured that your data is always safe.
Another great feature of Home Assistant is its flexibility. It’s designed to be modular, so you can easily add and remove features as needed. This makes it easy to customize your setup to suit your needs perfectly.
Lastly, Home Assistant is completely free and open source. Thanks to the developers and the community as this means that anyone can use it for free and can be integrated to a wide array of smart home appliances to control it remotely and efficiently.
How to Install Home Assistant on Raspberry Pi?
To install the Home Assistant on your RPi, use these steps:
- First, you need to download the latest version of Home Assistant OS from their official GitHub page. Make sure to download the correct file for your version of Raspberry Pi and the file name should end in
.img.xz. Extract the file to a new folder in your PC.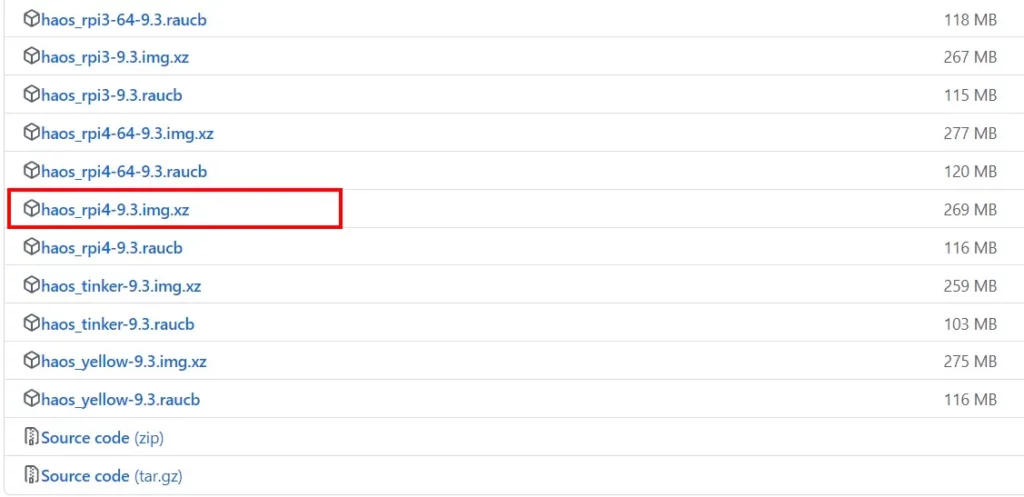
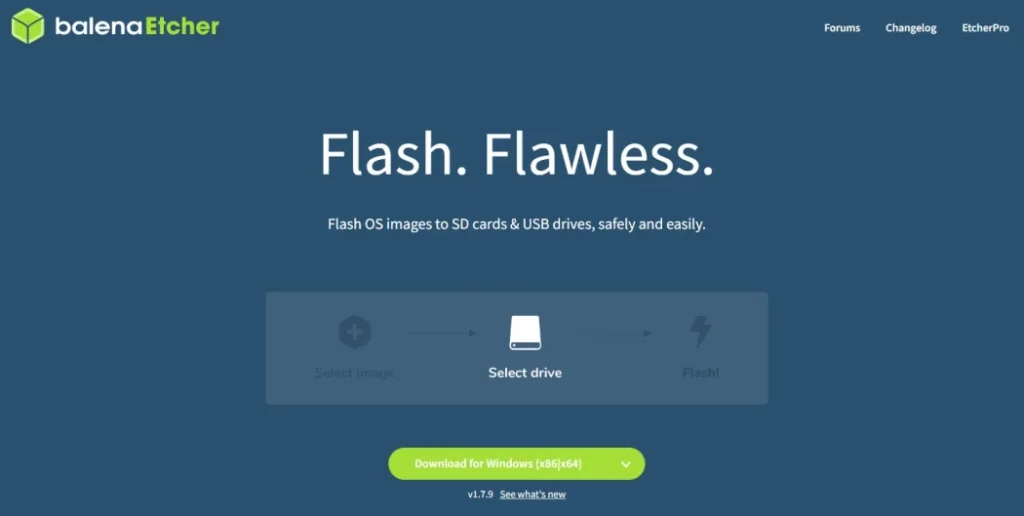
- Next, download and install Balena Etcher software corresponding to your computer’s operating system (Windows/ Mac/ Linux) for flashing the Home Assistant OS image to your SD card.
- Now connect your SD card to the computer and format it. Make sure to backup all your require files before proceeding.
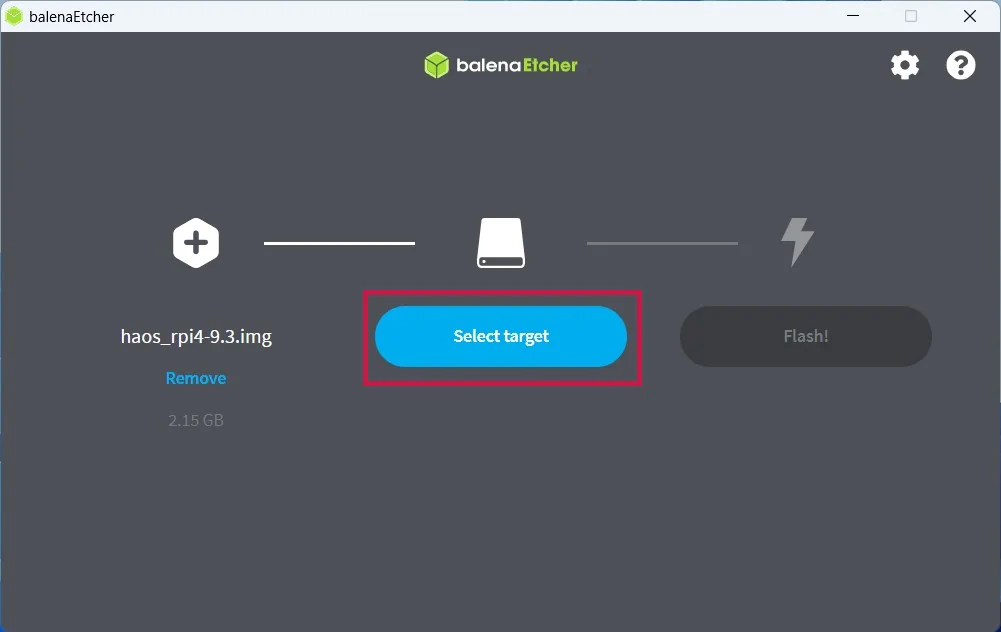
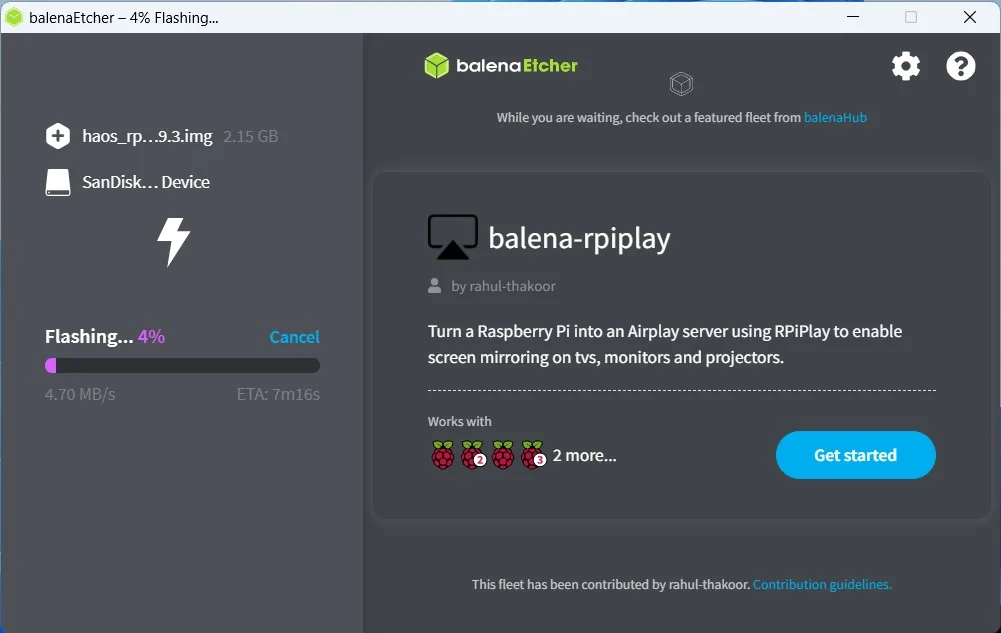
- Once done with that, launch Etcher and click on the Flash from file button and choose the OS image file that we’ve extracted.

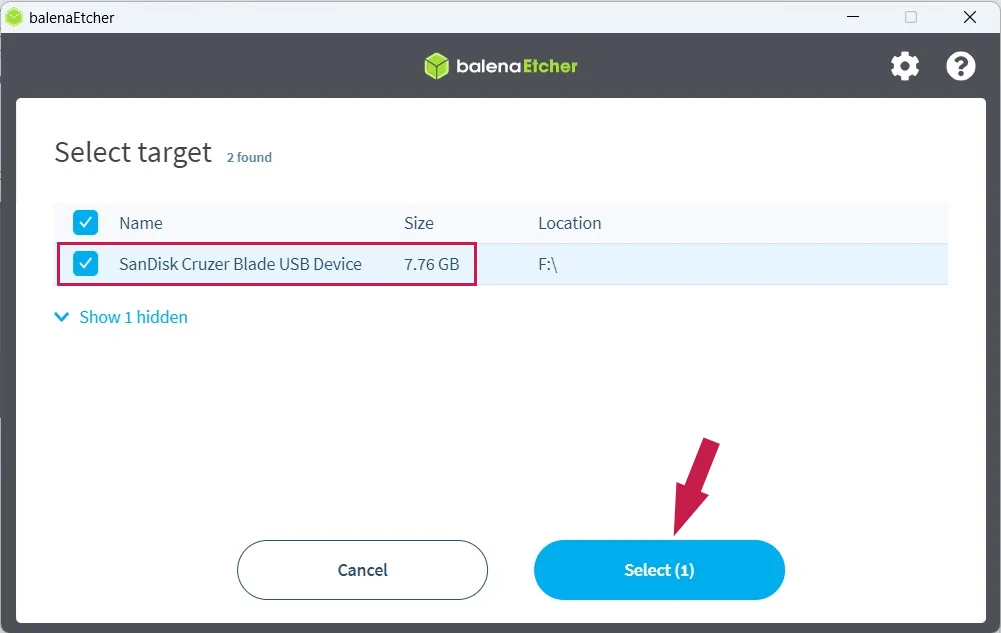
- After that, click on the Select target button to choose the SD card on which you want to install the Home Assistant OS. If you have only one writable drive, Etcher will automatically select it as the target drive.
- Now click on Flash! to start writing the OS image on your SD card. The process will take some time to complete depending on your system and drive speed. Once the process successfully completes, you will see a “Flash complete!” message.
- Now, if you intend to use ethernet cable for internet connection, you can skip to step * But, if you want to connect your Raspberry Pi to Wi-Fi, a little tweaking is needed. For this, open the drive (hassos-boot) where you flashed the OS and there create a new folder named
Config.
- Within the
Configfolder, create another folder callednetwork.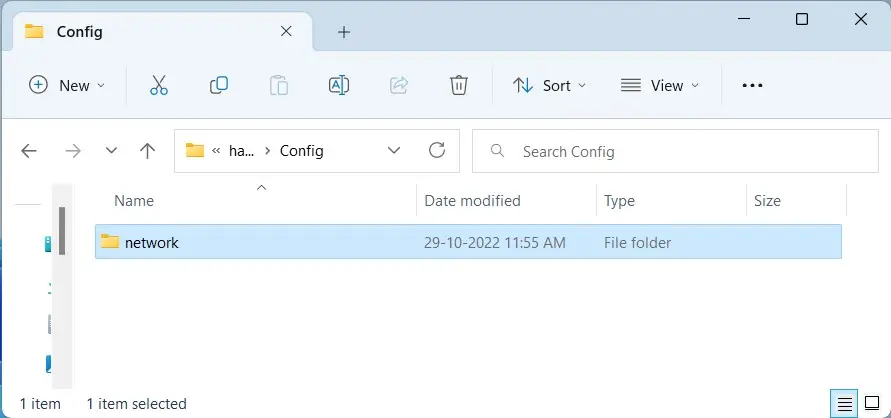
- Inside the
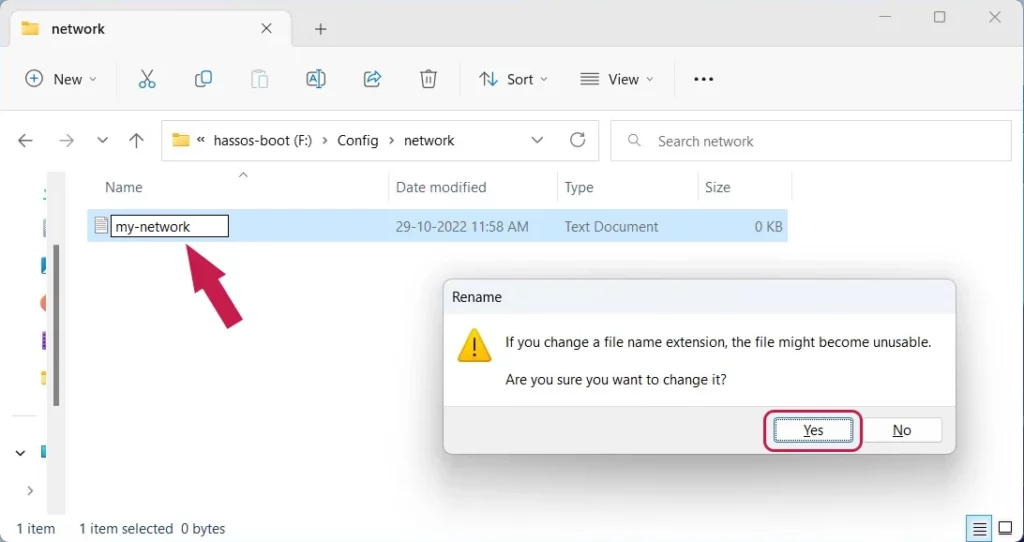
networkfolder, create a text file calledmy-network. - The extension of
my-networkfile is now.txt. You need to remove the file extension as shown in the screenshots below.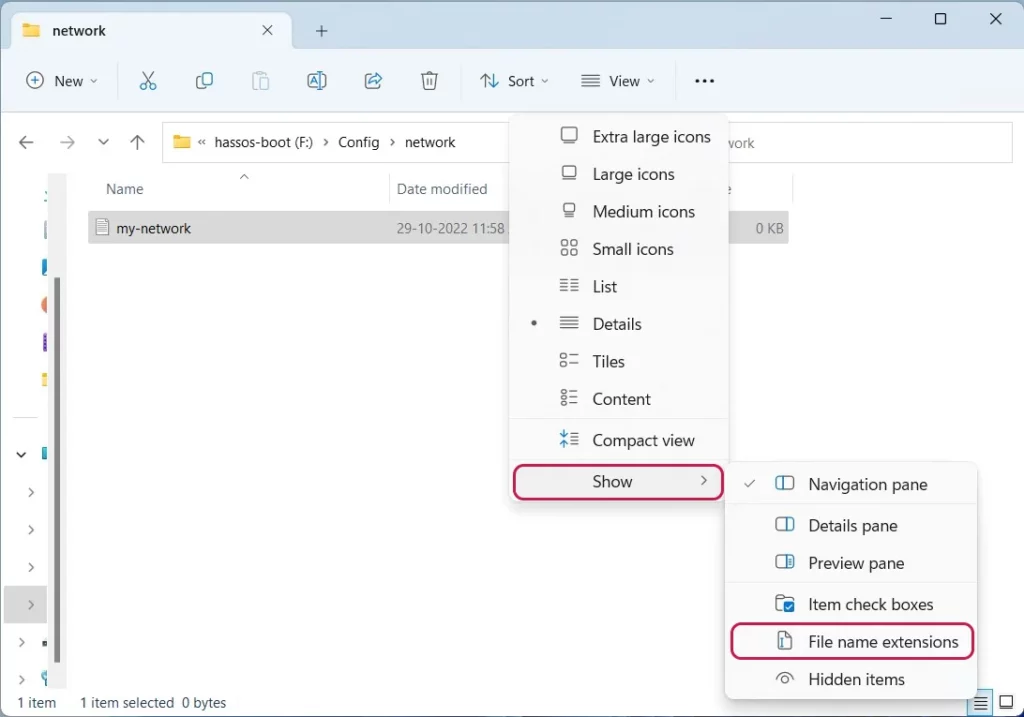
- Now, open the file
my-networkand add the below code.[connection] id=my-network uuid=<UUID> type=802-11-wireless [802-11-wireless] mode=infrastructure ssid=<WIFISSID> # Uncomment the below line if your SSID is not broadcasted #hidden=true [802-11-wireless-security] auth-alg=open key-mgmt=wpa-psk psk=<WIFIPASSWORD> [ipv4] method=auto [ipv6] addr-gen-mode=stable-privacy method=auto - Now, replace
<UUID>with your new UIID. To generate a new UUID using an online UUID generator. Then replace<WIFISSID>with the SSID of your Wi-Fi network, and finally replace<WIFIPASSWORD>with the password of your network. Once done, save the file. - Eject the SD card from your system, insert it into your Pi and Power it on. Wait till the Home Assistant command line interface appears.
- Now, open your browser and head to the following URL to get to the Home Assistant homepage.
http://homeassistant.local:8123If the above URL doesn’t work for you, try accessing the following URL.
http://homeassistant:8123If that too doesn’t get through, the final option is to use the below URL, but here you need to know Raspberry Pi’s IP address.
http://<IPADDRESS>:8123Here, replace
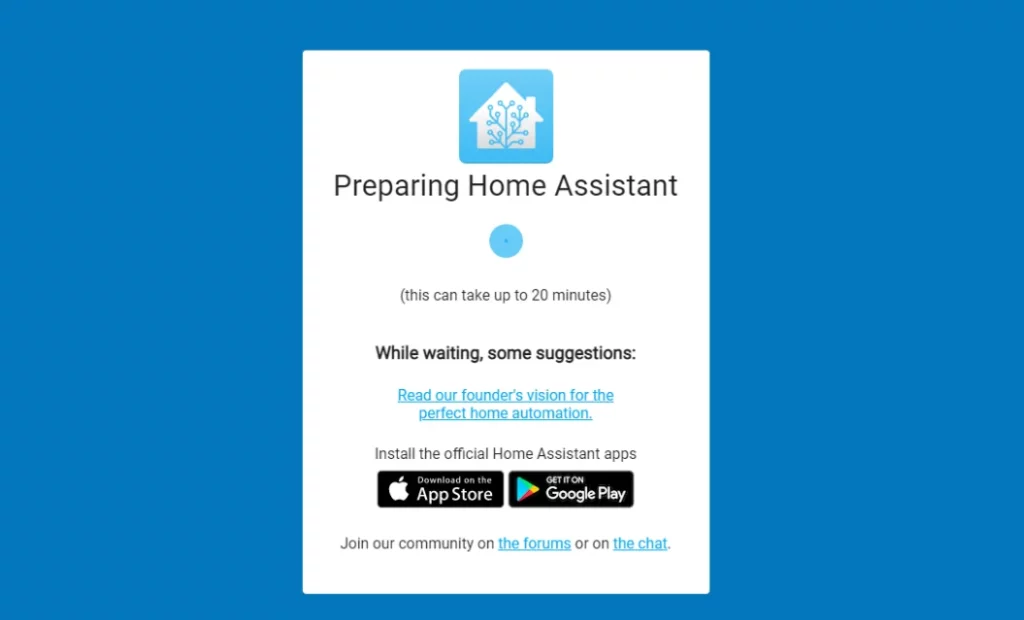
<IPADDRESS>with the IP address of your Raspberry Pi. - If you see an error message like “Site Can’t Be Reached” or something similar, wait for sometime and try again. It may take some time to download the latest version and set up everything for you.
- Once done, you will see the following screen on your browser window.
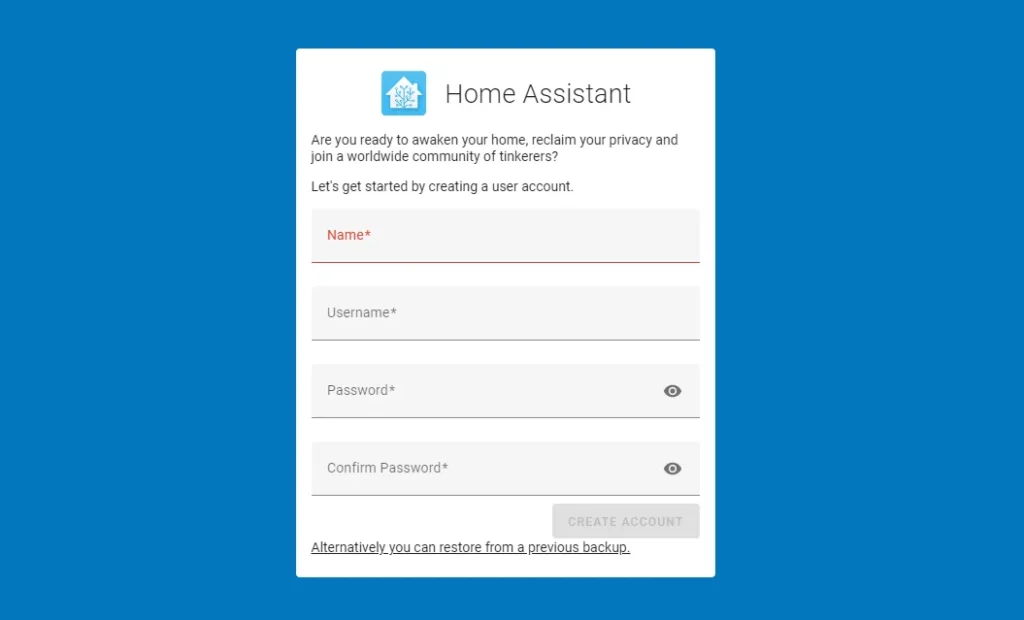
- The first thing you need to do is to create a new account to start using it. So, provide all necessary details and click CREATE ACCOUNT.
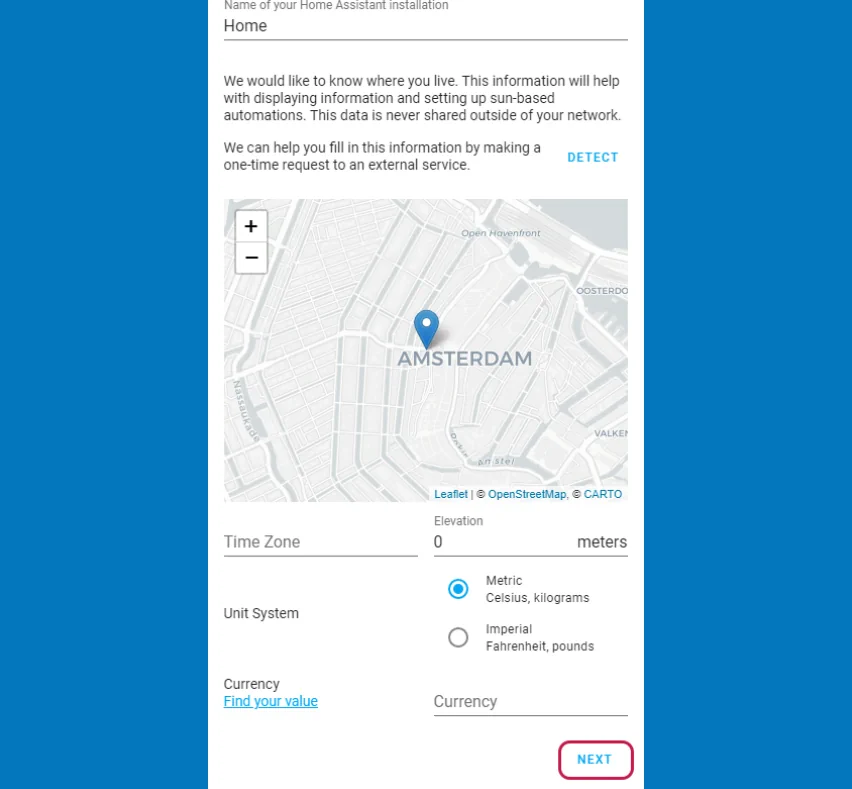
- On the next screen, give a name to your Home Assistant installation and click NEXT.
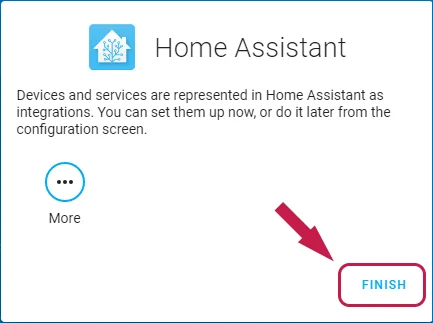
- Check all the boxes on the next screen and click NEXT.

- Finally, click on FINISH to complete the process.
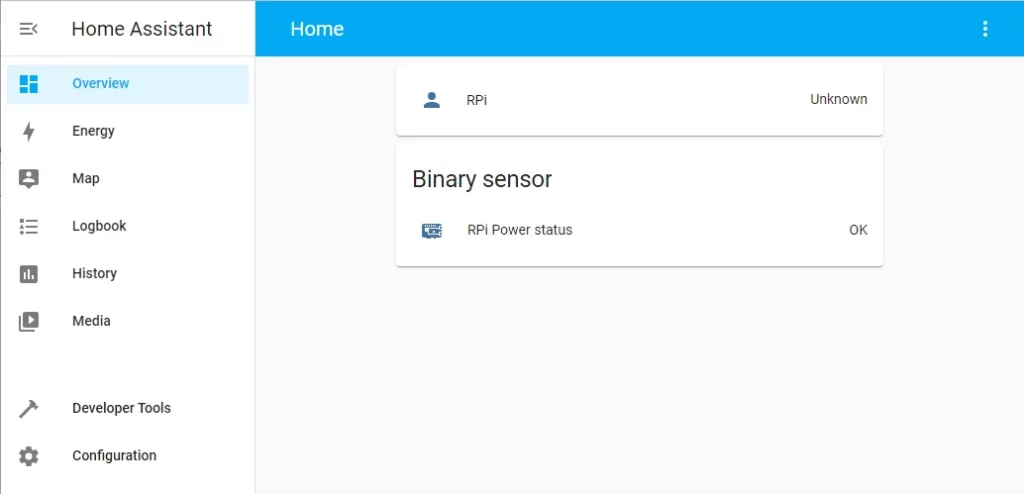
- Once you do the above steps successfully, you will be take into the Home Assistant dashboard where you can add more integrations and start automating your home.
Conclusion
Overall, installing Home Assistant on a Raspberry Pi is a great way to get started with home automation. Not only is it easy to set up, but it’s also relatively inexpensive and customizable. Plus, plenty of projects and devices can be added to a home automation setup with Raspberry Pi. As home automation becomes more popular, it’s crucial to have a secure and easy system to use. With Home Assistant, users can ensure that their home automation setup is running smoothly and efficiently.