Raspberry Pi Imager is a graphical SD card writing tool that helps you install an operating system on your Raspberry Pi the easiest way. It is the official tool recommended by the Raspberry Pi Foundation, and it works flawlessly on Windows, Linux, and Mac.
While flashing an OS on your SD card can be done by several other tools such as Win32 Disk Imager, Balena Etcher, etc., the Raspberry Pi Imager stands out and makes the process more straightforward and safe. It can download the OS image automatically from the official repository and install it to the SD card seamlessly.
This article will show you how to use the Raspberry Pi Imager to flash operating system images on your microSD card. Also, I’ll be showing you how to access the tool’s advanced settings to change locale settings, set username and password, and to format your drive to FAT32 file system. So, without further ado, let’s dive right in.
Contents
How to Install Raspberry Pi Imager on Windows
Here, I am going to show you how to install the imager on Windows operating system. For sake of this guide, I’ll be using Windows 11.
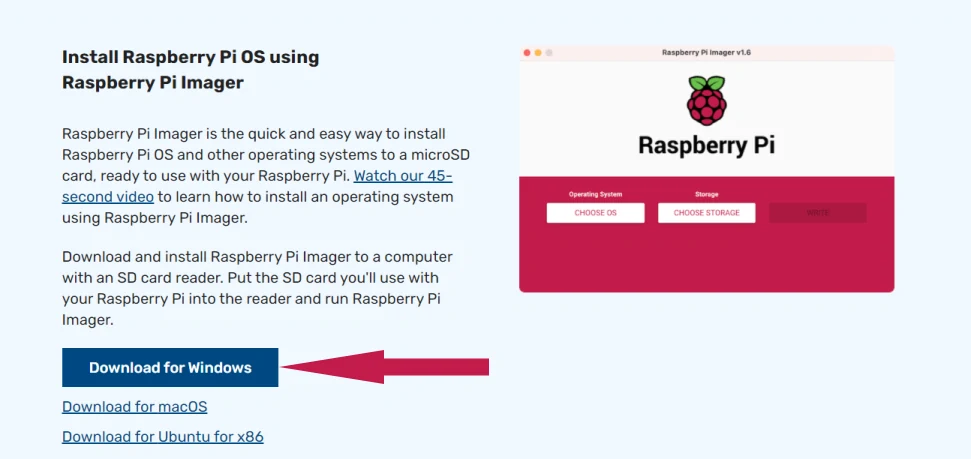
- First of all, head over to the official download page of the tool in any browser of your choice.
- Now, scroll down to see the button that says “Download for Windows” and click on it. This will start downloading the tool to your computer.
- Once the download is complete, run the Raspberry PI imager file (.exe) to begin the installation process.
- Click Yes if prompted for permission.
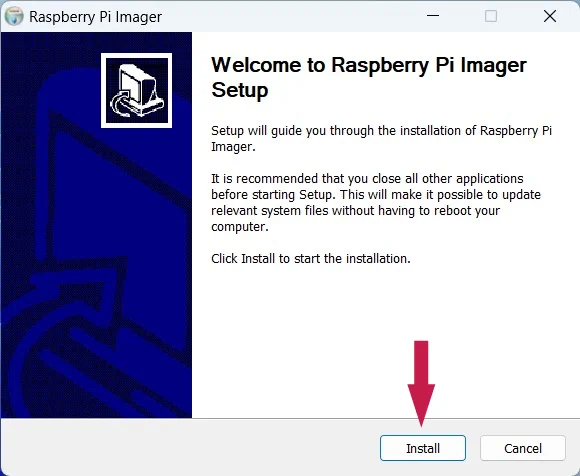
- This will open up the installation window. Here click on the Install button.
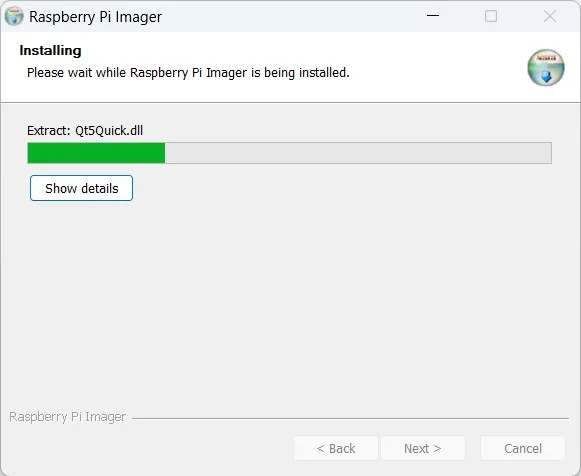
- The installation will start now and you need to wait for a few seconds to complete the process.
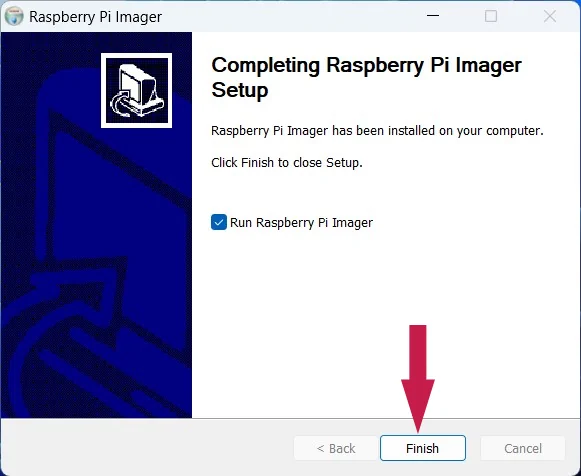
- Once it completes, click on the Finish button to exit the installer. If you check the option “Run Raspberry Pi Imager”, the tool will open up after you click Finish.
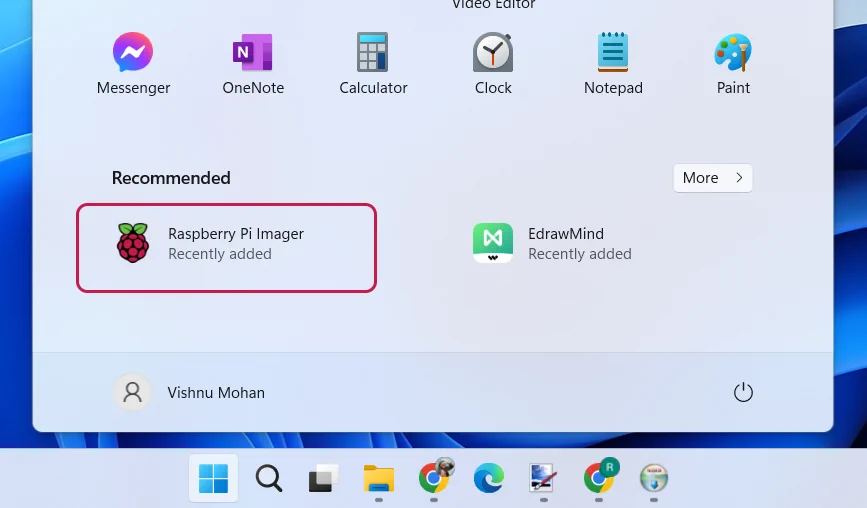
- Now, if it is not starting automatically, you can start it from the Windows Start menu as shown in the screenshot below.
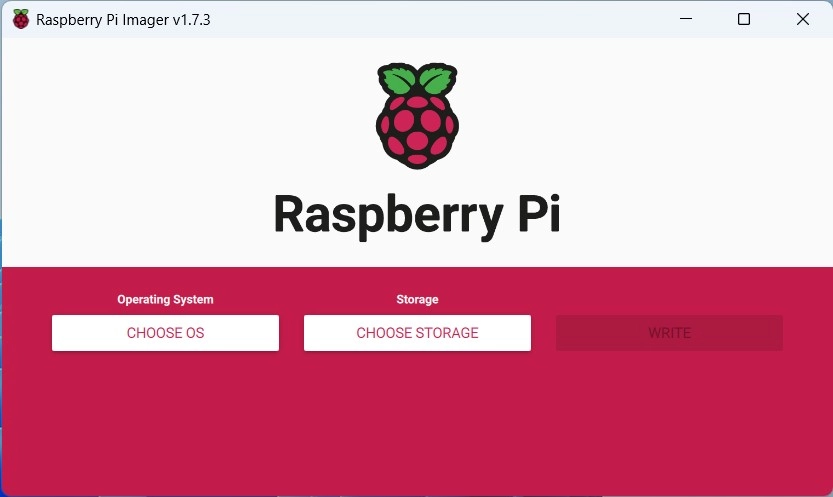
- Once the application opens up, it’ll look like this:
How to Use Raspberry Pi Imager
You’ve seen how to install the imager on Windows and now let’s see how to use it for various purposes such as flashing OS, updating bootloader, etc.
Installing Raspberry Pi OS
Before we get into the installation process, make sure that you’ve plugged your microSD card into the computer and is showing up under the Devices and drives section in This PC.
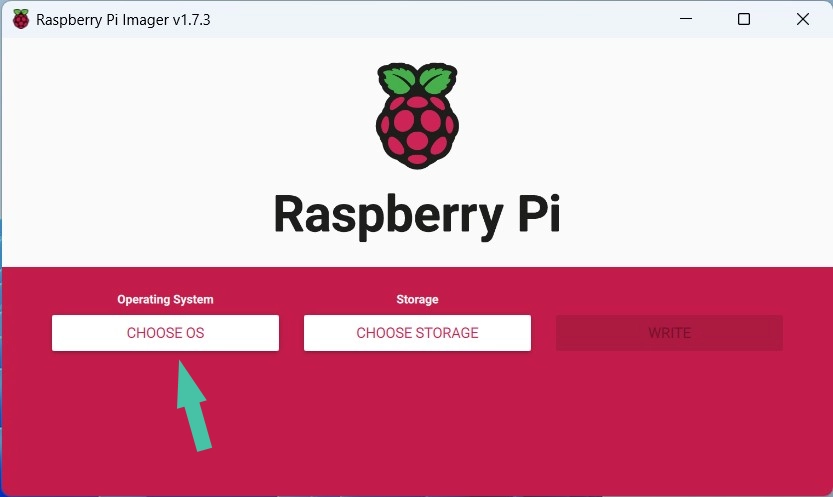
- In the Imager interface, first, you need to select the operating system by clicking the CHOOSE OS button.
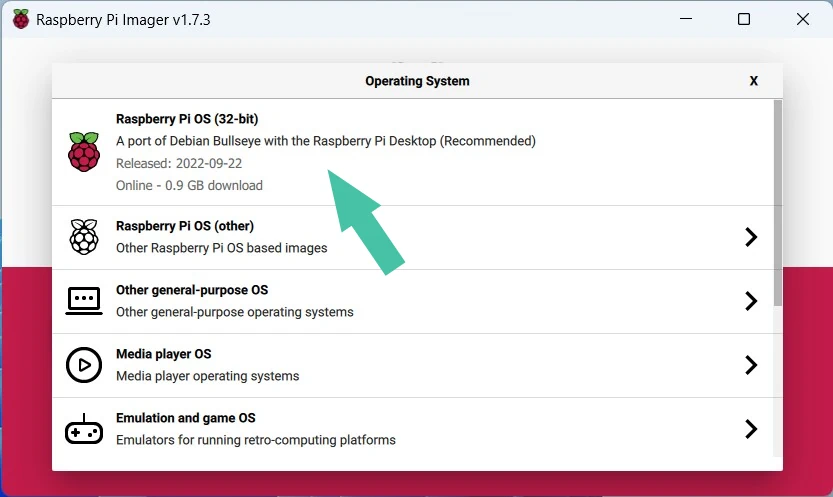
- It will list a few common operating systems for Raspberry Pi. Select the Raspberry Pi OS (32-bit) and it will automatically download and install the OS on your microSD card.
 If you choose the Raspberry Pi OS (Other) option, you can see (as shown in the below screenshot) the lite, 32 bit full, 64 bit, and legacy versions of the OS.
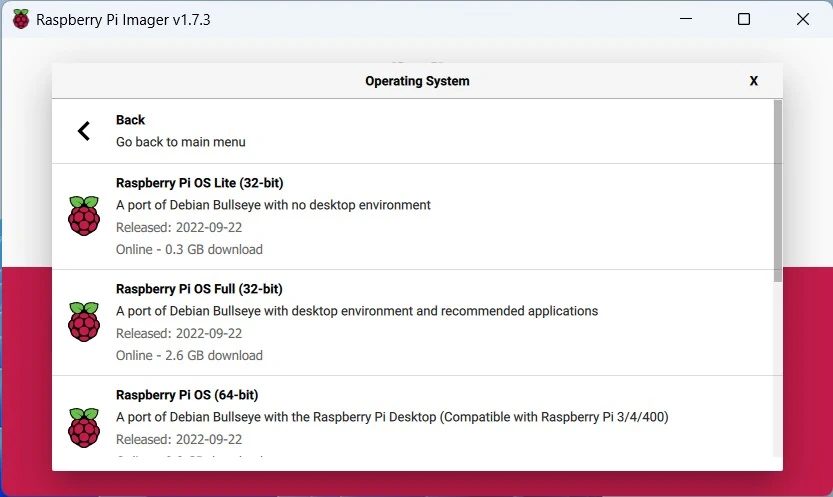
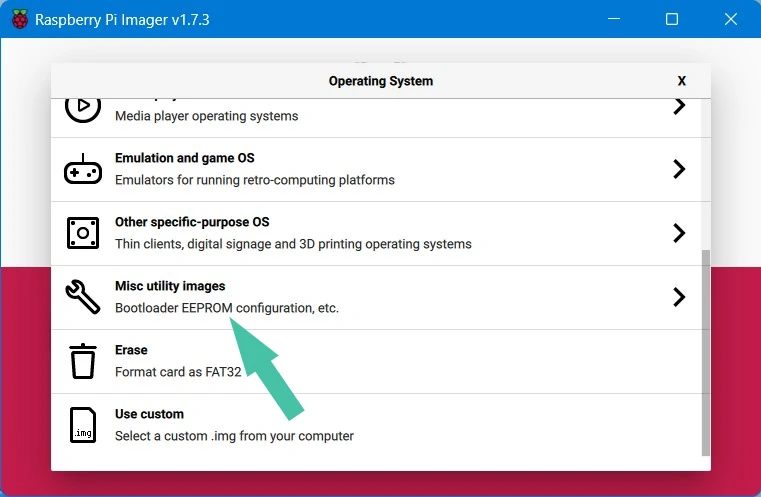
- If you choose Misc utility Images option, you can find recovery images for Raspberry Pi. And inside that, you can select bootloader or PINN which is a multi-boot OS installer with OS admin features.
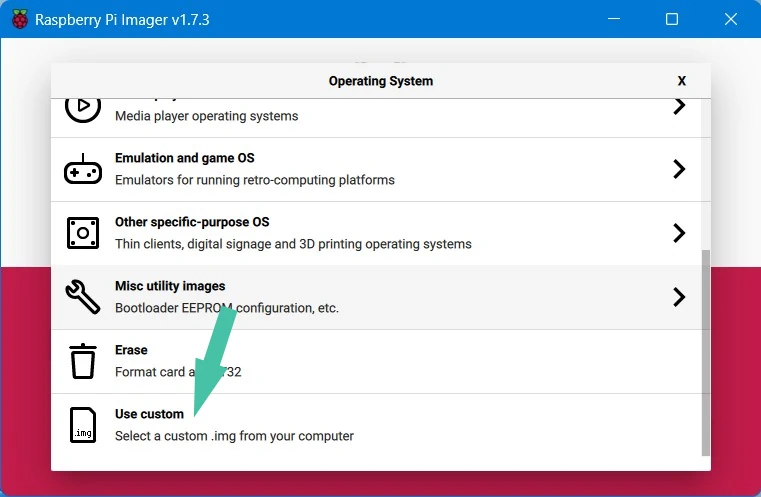
- If you’ve downloaded the OS file from any unofficial sources or want to any other OS image, you can use the Use custom option to select your preferred image.
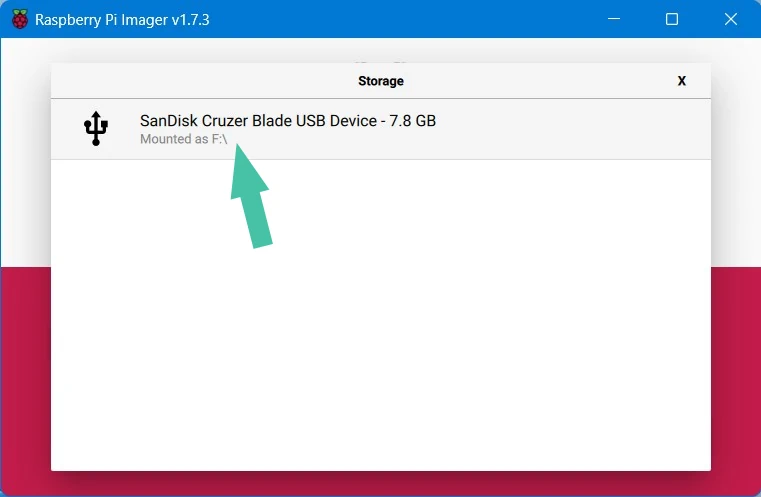
- Once you choose the OS, the next step is to CHOOSE STORAGE in which you want to flash it. Here you need to choose your microSD card from the list then appears.
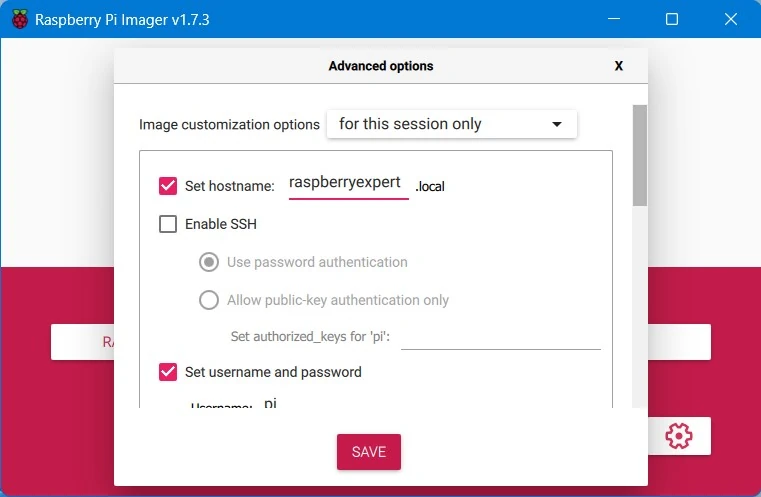
- The next step is to flash your OS onto the drive. But before that you can use the advanced options to customize your install. For example, you can set a new username and password other than the default password, set hostname, enable SSH, configure wireless LAN, change locale settings, etc. Once done with that click SAVE.
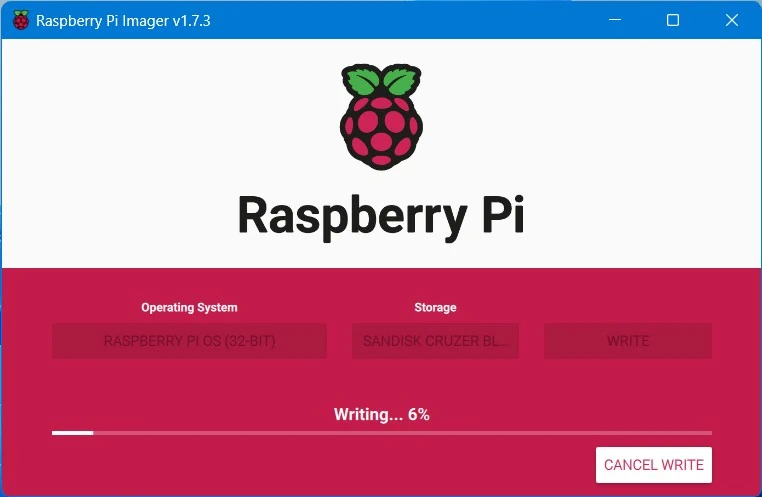
- To start the flashing the OS, click WRITE and then YES to confirm. This will begin the process and should take a few minutes to complete.
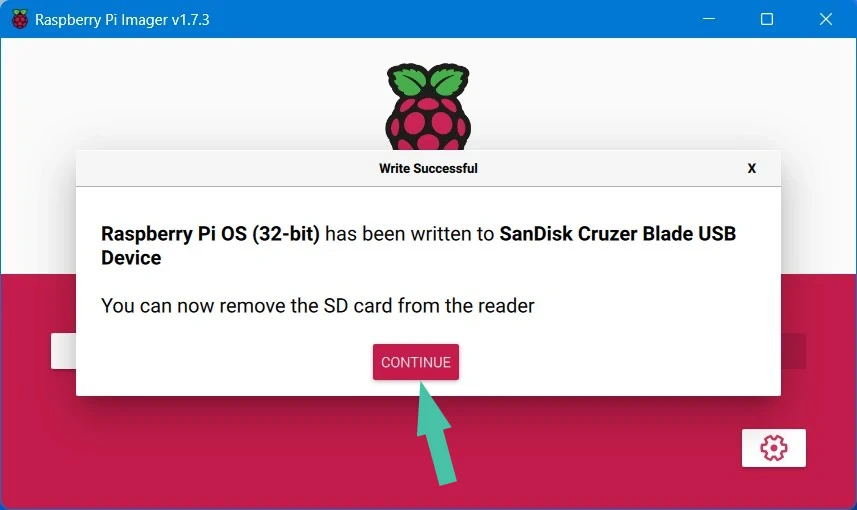
- Once the flashing process completes, you will be presented with a Write successful message. Click CONTINUE.
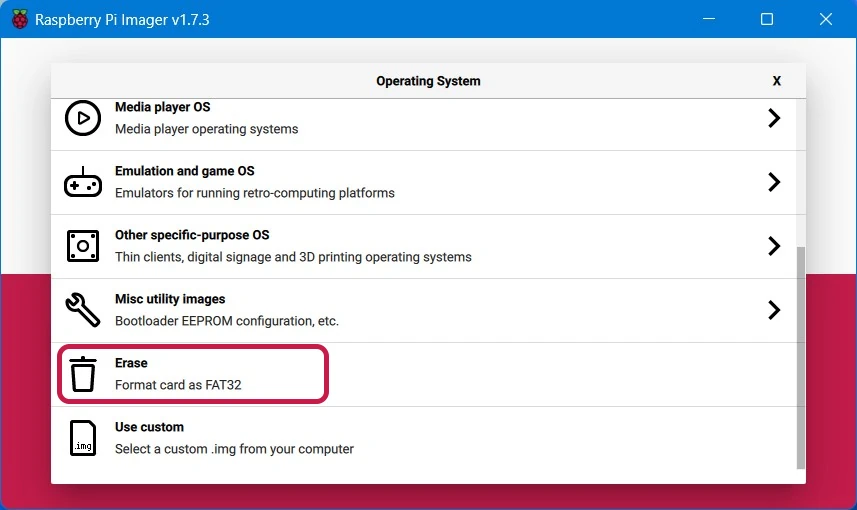
- The next use of the Raspberry Pi imager software is to format and SD card or a USB drive to FAT32 file system. For this to do, Open Imager and click CHOOSE OS. Now, scroll down and select the Erase option as shown in the screenshot below.
- Then as usual, select the SD card and the click WRITE. Once done, click CONTINUE.
Final Words
Now that you know what are the important uses of the Imager tool and how to do them your own. It’s all easy to do but should know what you are doing. This official tool has replaced some other well known flashing software but for good reasons. It’s safe and officially recommended by the Raspberry Pi foundation.
If you come across and issue, do let us know in the comments.