
If you wanna enjoy retro gaming on your Raspberry Pi but don’t want to lose your existing environment and Raspbian projects, then this guide is for you. The solution is to install RetroPie on Raspberry Pi as an application inside the Raspbian OS. So today I’ll walk you through the steps to install the RetroPie on Raspberry Pi.
This guide a bit different from just installing a RetoPie image on an SD card. We will first install the Raspberry OS (Raspbian) first and then install RetroPie as an application inside the OS.
Below is the equipment that you need to proceed with this guide.
Contents
Equipment List
- Raspberry Pi 4 (or other models)
- MicroSD Card (minimum 8GB recommended)
- Power Supply
- HDMI Cable (unless you have a touchscreen)
- Ethernet Cable (or Wi-Fi connectivity)
- Keyboard & Mouse
- Game Controller
Steps to Install RetroPie on Raspberry Pi (in Raspbian)
Step 1: Install Raspbian OS (Skip if already installed)
First of all, you need to install Raspbian OS on your Pi. For this, you can refer to my guide here. Install it and then come back to this page and proceed with the following steps. If you already have the OS installed, then skip this step.
Step 2: Install RetroPie in Raspbian
Once you are ready with a Raspbian on your Pi, now it’s time to start with the installation of RetroPie.
- At first, open a terminal window using CTRL+ALT+T. You will see a screen like this.
- The next step is to load the RetroPie setup script using the command below:
sudo git clone --depth=1 https://github.com/RetroPie/RetroPie-Setup - The above code will just download the RetroPie setup only. So we have to go inside the directory by this code.
cd RetroPie-Setup - Once inside the directory, you can install the RetroPie setup using the below code.
sudo ./retropie_setup.sh - After installation, you will see the RetroPie setup script menu. Select OK.
- Then you will be seeing a screen like below. Here, select the Basic install option and select OK.
- Once done with that, you will have the RetroPie installed on your Pi inside the Raspbian OS.
- Again open the Terminal window and type the following code:
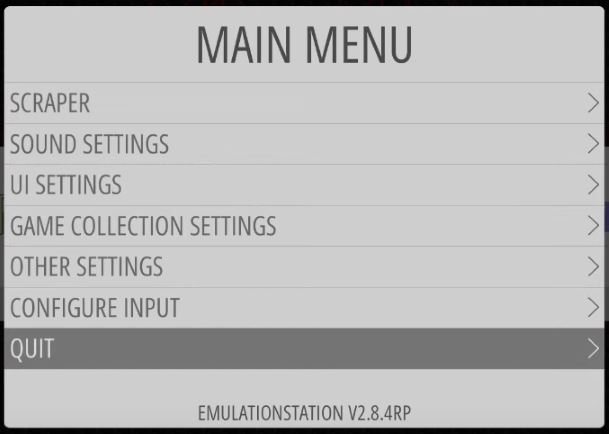
emulationstation - This will load the UI to RetroPie and you will be prompted to configure your controller.
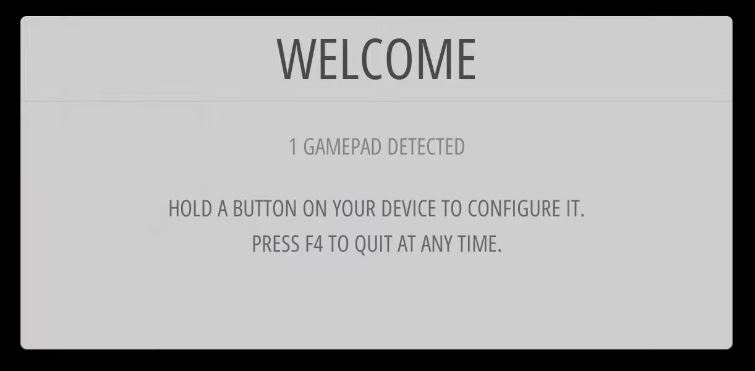
- Here, I’m using an Xbox One controller which is connected via USB. You can also use a PS4 controller and connect via Bluetooth. Now I’m going to set up my controller.
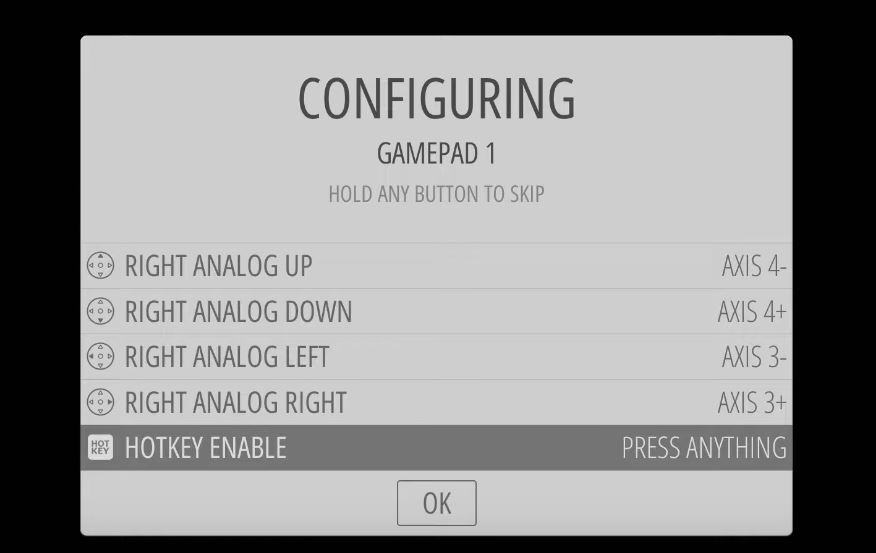
- I will select the hotkey to enable from the menu and select OK. Press START and quit the emulation station to go back to the Raspbian desktop.
Step 3: Adding Games to RetroPie
- For adding some games to RetroPie, here I’m connecting my USB hard drive where I have a nice collection of RetroPie ROMs. In the window opened at the left side, it is the Raspbian file manager where the RetroPie folder and ROMs are there. At the right, there is my hard drive opened. Now I’ve to go to the hard drive and copy some SNES games to the BIOS folder in the Raspbian file manager.
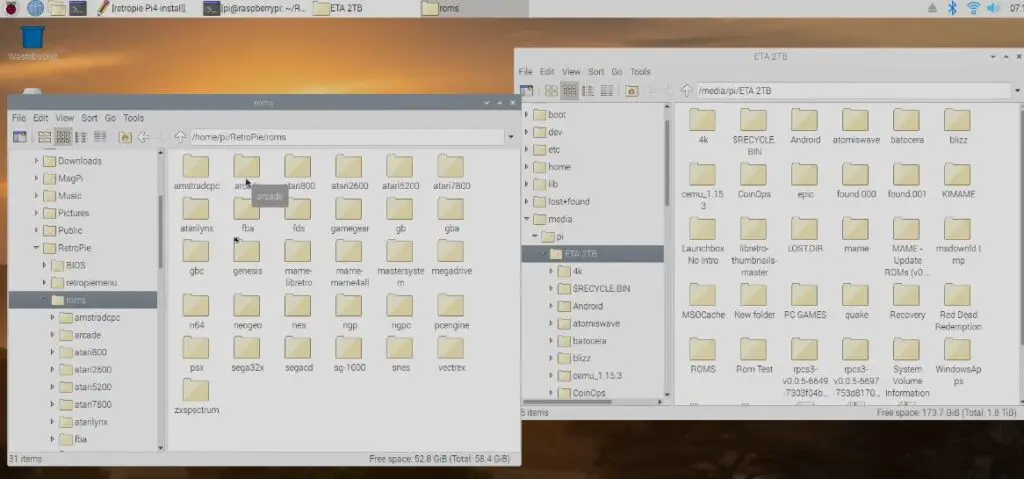
- Also, transfer some SNES games to snes folder inside the roms folder
- Once all ROMs are copied, again open the terminal window and issue the emulationstation command.
- Now your Pi will load with RetroPie games as you can see in the below screenshot.
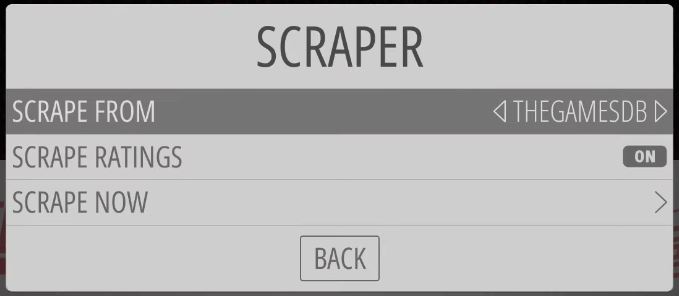
- Press Start on your controller and go to the scrapper.
- Now select SCRAPE NOW.
- Then select SYSTEMS and for now, select only 1 instead of 4. (Here I selected Super Nintendo only)
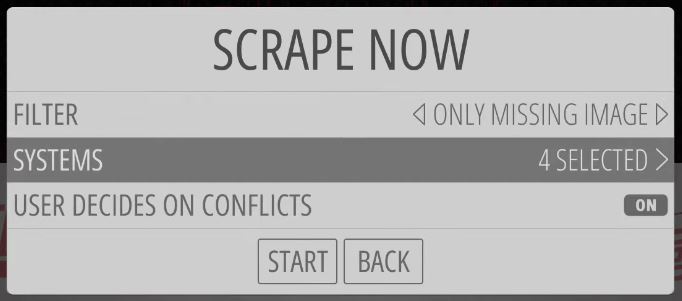
- So check only one and uncheck the other 3 options and click BACK.
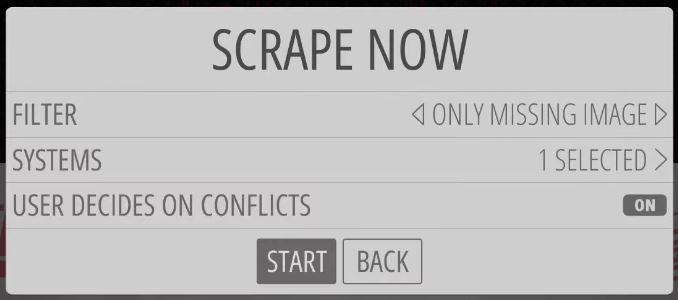
- In the next window click on the START button. The scraping process will start now.
- Once scraping is completed it will directly go to the list of games as shown below.
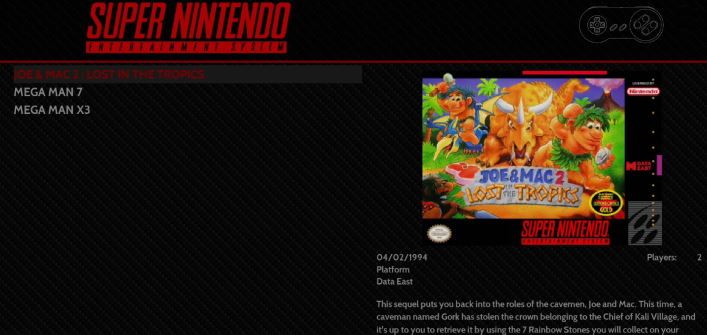
- From the list, I’m going to select JOE & MAC 2 (in my case). The game should open now and you can start playing.
If you want to exit the game press the hotkey and start. This will bring back you to the emulation station and from there you can select the QUIT option.
Booting Directly into RetroPie
Now you’ve all set and can start playing games on your Raspberry Pi. If you want your Pi boot directly into the RetroPie at every start, then follow the below steps.
- Open a new terminal window and type the following command.
sudo nano /etc/xdg/lxsession/LXDE-pi/autostart
- From here use the arrow key to come to the bottom of the last line and type this command.
lxterminal -e /usr/bin/emulationstation
- Save it by pressing CTRL+X+Y and then enter.
That’s it. Now onwards every time you start your Pi, it will directly land on RetroPie.
Now issue one more command to reboot the system
sudo rebootCongrats. You have successfully completed all the steps and you can start enjoying the retro gaming experience by adding your favorite game. If you wanna improve your gaming experience consider increasing the CPU speed by overclocking your Raspberry Pi.
If you have any queries, ask via the comment section below.
Found an issue with this article? Report it here, so that I can resolve it.

I have a raspberry pi 2b and when I try to run emulationstation I get the following error:
Jul 25 22:08:44 Lvl0: Error creating SDL window!
Could not get EGL display
Jul 25 22:08:44 Lvl0: Renderer failed to initialize!
Jul 25 22:08:44 Lvl0: Window failed to initialize!
I searched a little bit and it seems that this happens when you try to launch a version of retropie made for a different raspberry pi model, for instance if you try to run retropie meant for RPI4 with a RPI2. Now, Is there anyway to install the correct version of retropie to Raspberry Pi 2b as an app for rasbian?
I too got this error and i had downloaded the right version of RetroPie (I have 3 B+. If it helps you can download the rpi 2 version from https://retropie.org.uk/download/