So you’ve just got a Raspberry Pi in your hands and taken out of the box. Well. Now what? What all things you can do with a Raspberry Pi? You can do a million things with the single-board computer, but first, you have to set it up in the right way.
In this tutorial, I will show you how to set up Raspberry Pi board for the first time. If you are a beginner this is the right tutorial for you. Just read on and I will walk you through detailed step-by-step instruction to get it up and running.
If you bought the Pi as a part of a Raspberry Pi kit, then you may be having the required accessories with you. In case you have the Raspberry board only you need the following items to get started.
- Power source
- MicroSD card (Minimum 8 GB)
If you are not planning to do a headless install (without display) and use it via remote desktop or SSH, you need the following things.
The type of HDMI cable will vary according to your Pi. If you are using Raspberry Pi 4 B it has a dual HDMI out port so it needs micro HDMI to HDMI or adapters. Zero/ Zero W has mini HDMI so it requires mini HDMI to HDMI cables. All other versions of the PI use a standard HDMI port so you can use a male-to-male HDMI cable to connect it to your monitor.
Contents
How to Setup Raspberry Pi for the First Time
Powering up your Raspberry Pi
The Raspberry Pi 4 B is generally powered through a USB C port that needs a charger that can output 5 volts and 3 amps. For a better power supply, I’d suggest you buy a dedicated charger for your Pi rather than using any mobile USB type C chargers. I’m saying this because most of the mobile chargers cannot provide enough amps unless they have USB PD capability. However, a USB Type C laptop charger can get the job done.
All other Pi models including models like 3, Zero, Zero W, etc use a micro USB port for getting a power supply. So you can use any third-party USB chargers for this purpose. A typical power source of a Raspberry Pi 3 should output 5 volts and 2.5 amps, which is not only enough to power the Pi but also to power the peripherals.
Installing an OS on Your Pi
Though there are a plethora of operating systems available for Raspberry Pi, Raspbian, a Debian-based OS optimized for Raspberry Pi is the best-suited for most of the use cases.
A Raspberry Pi is devoid of internal storage, so for everything you need a microSD card to work with. It actually boots off from a microSD card where we flash the Raspberry Pi OS (previously Raspbian). For this, you need a card of at least 8GB, but 16 GB or higher is preferable with a class 10 speed. Also, you need a card reader to connect to your PC and get the installation done.
Installing Raspberry Pi OS (Raspbian)
If you are using the Pi to control physical objects like motors, sensors, or lights, then you don’t necessarily need a monitor connected to it. In this case, you can refer to my guide for doing a headless install on your Pi. If you don’t prefer headless install, then follow the below steps.
I personally tried this on my Windows 10 PC, but it should work on Linux and Mac OS too.
- Firstly insert your microSD card into the card reader and plug it into your computer.
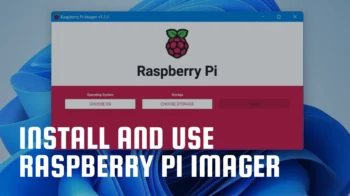
- Download and install the Raspberry Pi Imager from the official website. It’s available for Windows, Linux, and Mac. There is another way to install Raspbian where you need to download the image file and use a third-party app to burn your card. Anyway, using Imager is the easiest way to get it done without any hassles.
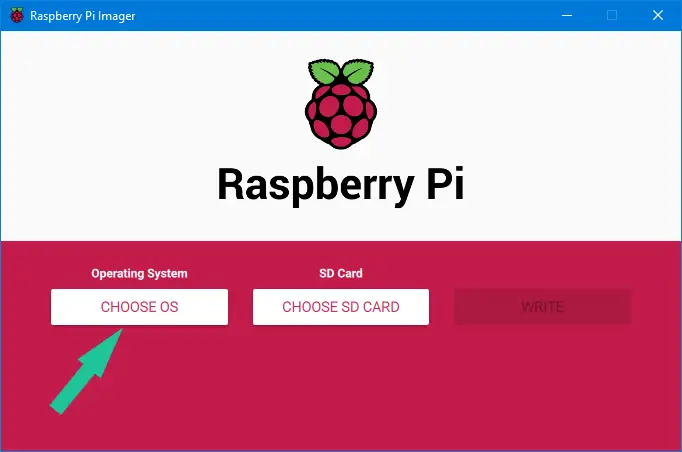
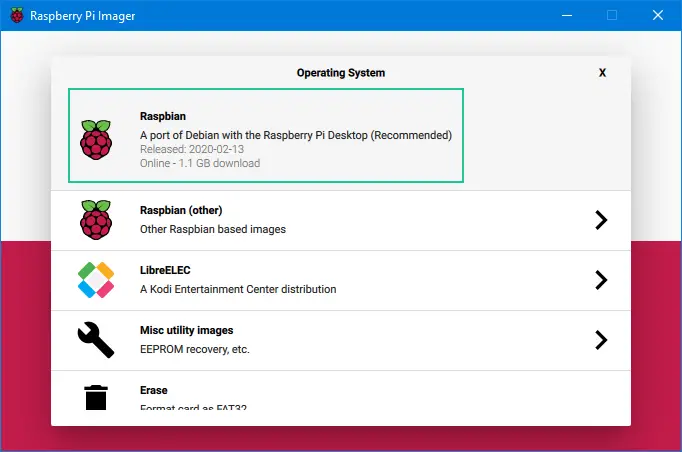
Note that, on Windows 10, the Raspberry Pi Imager gets flagged as dangerous by Windows Smart Screen. But don't panic, there are no risks involved in it as we are download it from official website of Raspberry Pi Foundation. - Now launch the Imager and click CHOOSE OS to select Raspbian. There are other OSes available in the list, but I recommend you to go with Raspbian only as it is fast and stable when compared to others.
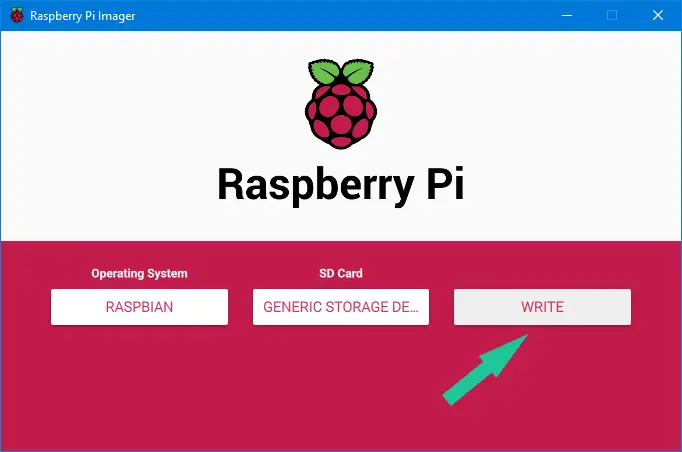
- Click on CHOOSE SD card and select the one you are using.
- Click on WRITE. It will then start downloading the Raspbian OS and then burn it on your MicroSD card.
 Once it completes the burning. You’re done.
Configuring Raspberry Pi OS (Raspbian)
You have successfully completed the installation of the OS and now it’s time to configure the right way. I’ll show you that in a minute.
If you are prompted for username and password, just type username as pi and password as raspberry. These are default Raspberry Pi credentials that you can always change later. Once you start configuring, it will show a welcome screen where you have to select your preferred settings.
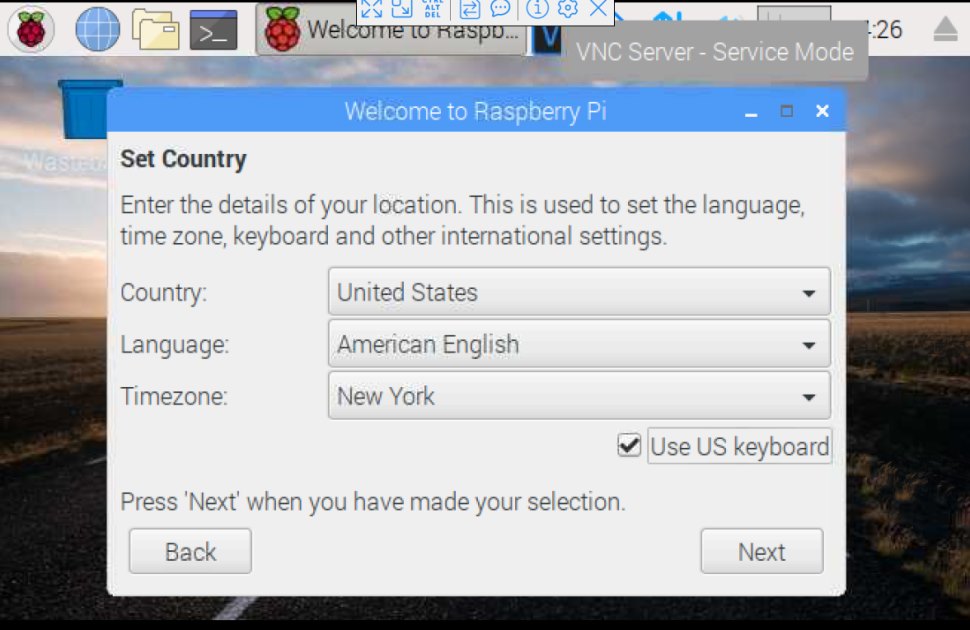
- In the welcome screen, select your country, language, and keyboard type.
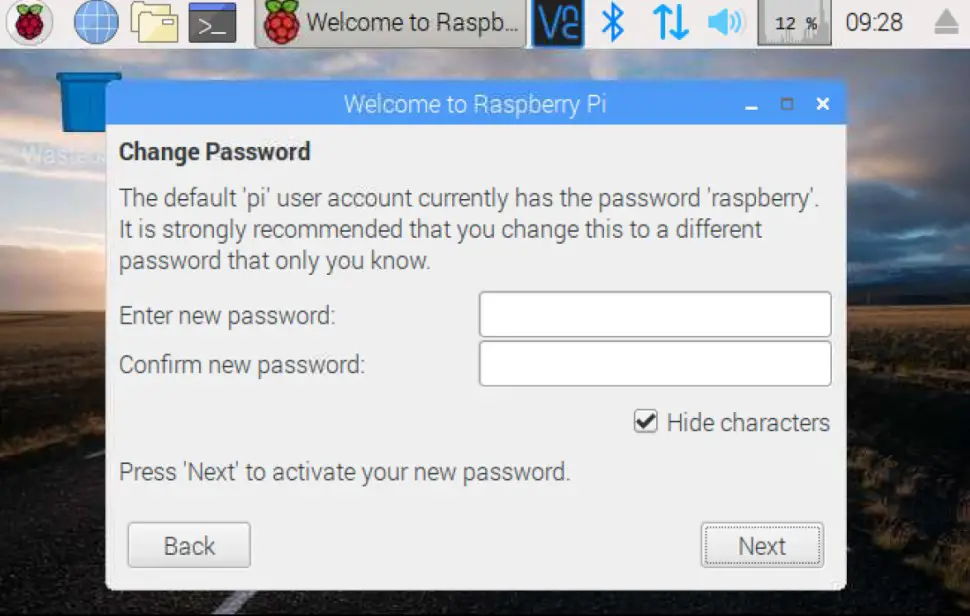
- Now change your default password (highly recommended) on the next screen and click Next. You can also leave it blank to continue with the default password.
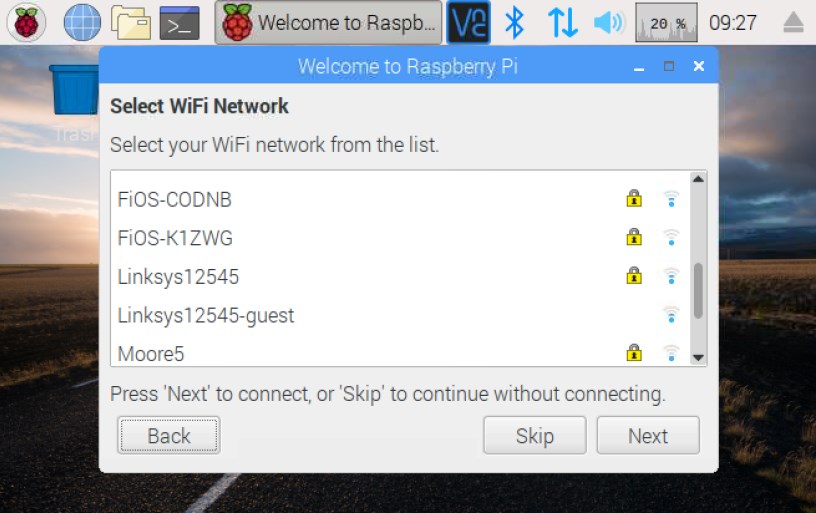
- Choose your Wi-Fi network from the list on the next screen if you are using a Wi-Fi connection. In case you are using an ethernet connection, you can skip this.
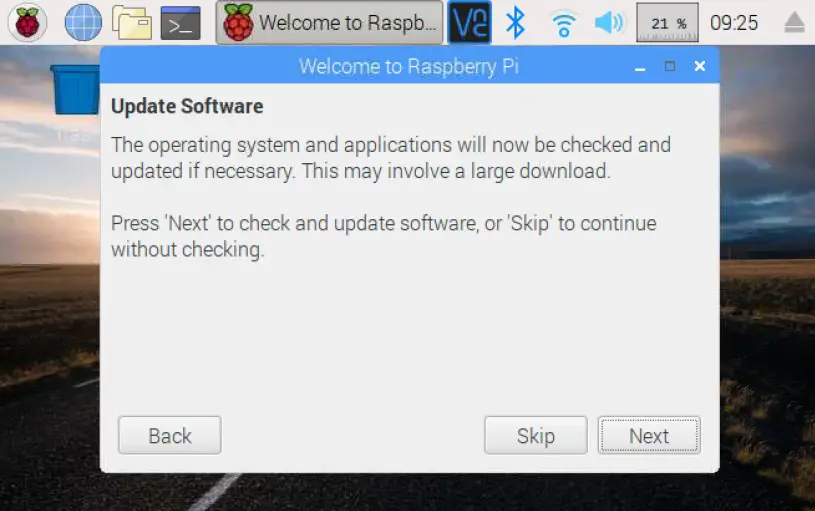
- When prompted for a software update (only when connected to a network), click Next. It’ll take a few minutes to complete the update process.
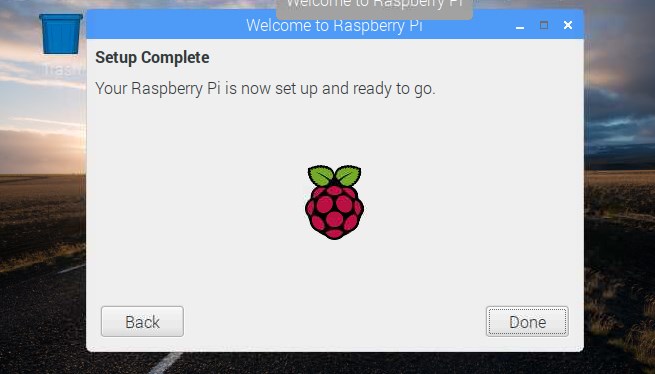
- Once done click Done. Now you are all set to start exploring the Pi. 😀
If you are not shown with the welcome screen or if you wanna change these settings later. Just click on the Raspberry Pi logo at the top left corner and navigate to Preferences > Raspberry Pi Configuration. The Wi-Fi configurations can be changed by clicking the Network icon on the taskbar.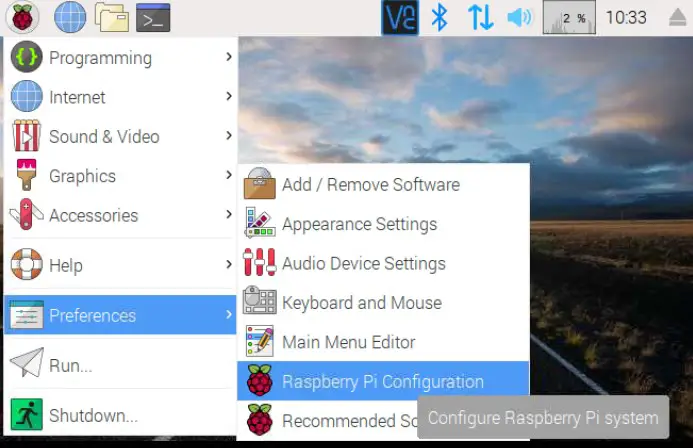
Changing Screen Resolution on Raspberry Pi
You may need to change the screen resolution on your Pi when you connect it to different screens as per your needs. This ensures that the resolution matches the capability of your display. To change the resolution follow the below steps.
- Open the configuration menu as we did before.
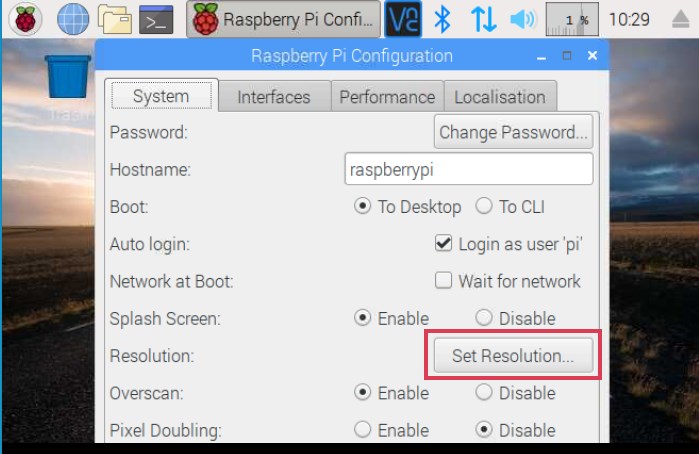
- Go to the System tab and click on Set Resolution.
- Choose your required resolution and click OK.
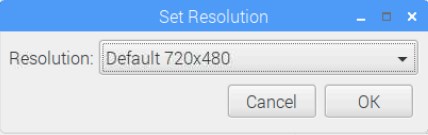
- Click Yes and Reboot.
So I hope that you have successfully set up and configured your Raspberry Pi for the first time. If you have any doubts please don’t hesitate to ask via the comments. You can see me as your friend and a fellow Raspberry Pi fan craving to help and explore new projects and applications of Raspberry Pi.
What should I Do Now?
So are wondering what to do next?
Well. I guessed because I have gone through this stage when I was a beginner. Anyway, no worries. I’m here to guide you. Quickly I have listed some of the best things that you can do for the first time you set up your Pi. Head over to each link provided below and kickstart your journey with the Pi (Hope you’ll ping me once you do something interesting.. :-)).
Found an issue with this article? Report it here, so that I can resolve it.